Connect a domain to NextSteps
A domain name is the URL or web address where visitors find your site. With a NextSteps Team, you can replace your.nextstep.is domain with a custom domain. Custom domains give your journeys a professional look, strengthen your brand, and make it less of a hassle for visitors to find you.
Connect a domain to NextSteps
Connecting a domain to your NextSteps Team keeps your domain with your current domain name service provider while pointing it to your NextSteps Team.
To begin you'll need to have purchased a domain from a third-party provider (like HostGator, Google, or 1&1). From there, you can connect it to your NextSteps Team by following a setup process called DNS Connect or domain mapping. After completing these steps, your domain remains registered with the host that you purchased the domain from, but it connects to your NextSteps Team.
Before you begin
Preparation
- To follow this guide, you should already have registered a domain with a third-party provider. After you connect your domain by following the steps in this guide, you must leave it registered with your provider to keep it connected to your NextSteps Team.
- Your domain provider must offer full DNS access. If they don't, you’ll need to transfer the domain to a new provider before connecting it to NextSteps.
- We recommend using your domain provider's default nameservers and updating the DNS settings in your domain account.
- Most domains connect to a site in 24 hours, but it can sometimes take up to 72 hours. Keep this timing in mind if you have a deadline.
Limitations
- It's not possible to connect a third-party domain to a specific journey in your NextSteps Team. All connected domains point to your NextSteps Team Homepage.
- Domains with special characters (such as ü, é, ñ) may not display properly on all browsers. If a browser can’t display the character, it reformats the domain with extra characters and dashes. For example, the domain “übercool.de,” redirects to "xn--bercool-m2a.de” in unsupported browsers.
Step 1 - Start the connection in NextSteps
To connect your domain, start in the Custom Domains Dialog:
- Open https://admin.nextsteps.is and login.
- Select the team you are adding a custom domain to in the teams dropdown.

- Click the team settings menu button and click on "Custom Domain".

- Enter the full domain name you’re connecting in the "Domain Name" field

- Click Connect.


If you see a message that says "This domain is already connected to another NextSteps Team," check your other NextSteps Teams to find where the domain is connected. Then disconnect it from that team.
Step 2 - View your DNS config
After you click connect, the DNS Config panel will appear. This dialog shows the record you'll need to enter in your domain provider's account to connect your domain to your NextSteps Team. Keep this dialog open for your reference.
Your status may be green, orange, red, depending on the DNS information our system receives from your domain provider.
Invalid Configuration
We require you to add either an A Record (for apex domains) or a CNAME Record (for subdomains) as listed in the area under the DNS config. You will need to refer to your domain provider's documentation on how to add an A Record or CNAME Record to your domain.

Pending Verification
We require you to add a TXT record to your domain to verify that you are the owner of the domain. This is due to other NextSteps or other Vercel (our cloud provider) users already having used the domain you've added. This will then disable their usage of the domain and transition it to NextSteps.
 Valid Configuration
 Valid Configuration
Everything is configured correctly. You should now be able to visit your selected custom domain and begin browsing your journeys.

Step 3 - Set your default Journey
From the dropdown underneath the Default Journey heading you can choose one of your journeys to display on your domain by default. This will redirect your domain e.g example.com to your default journey e.g example.com/my-custom-journey.

Troubleshooting
I am seeing a "SSL Handshake failed error"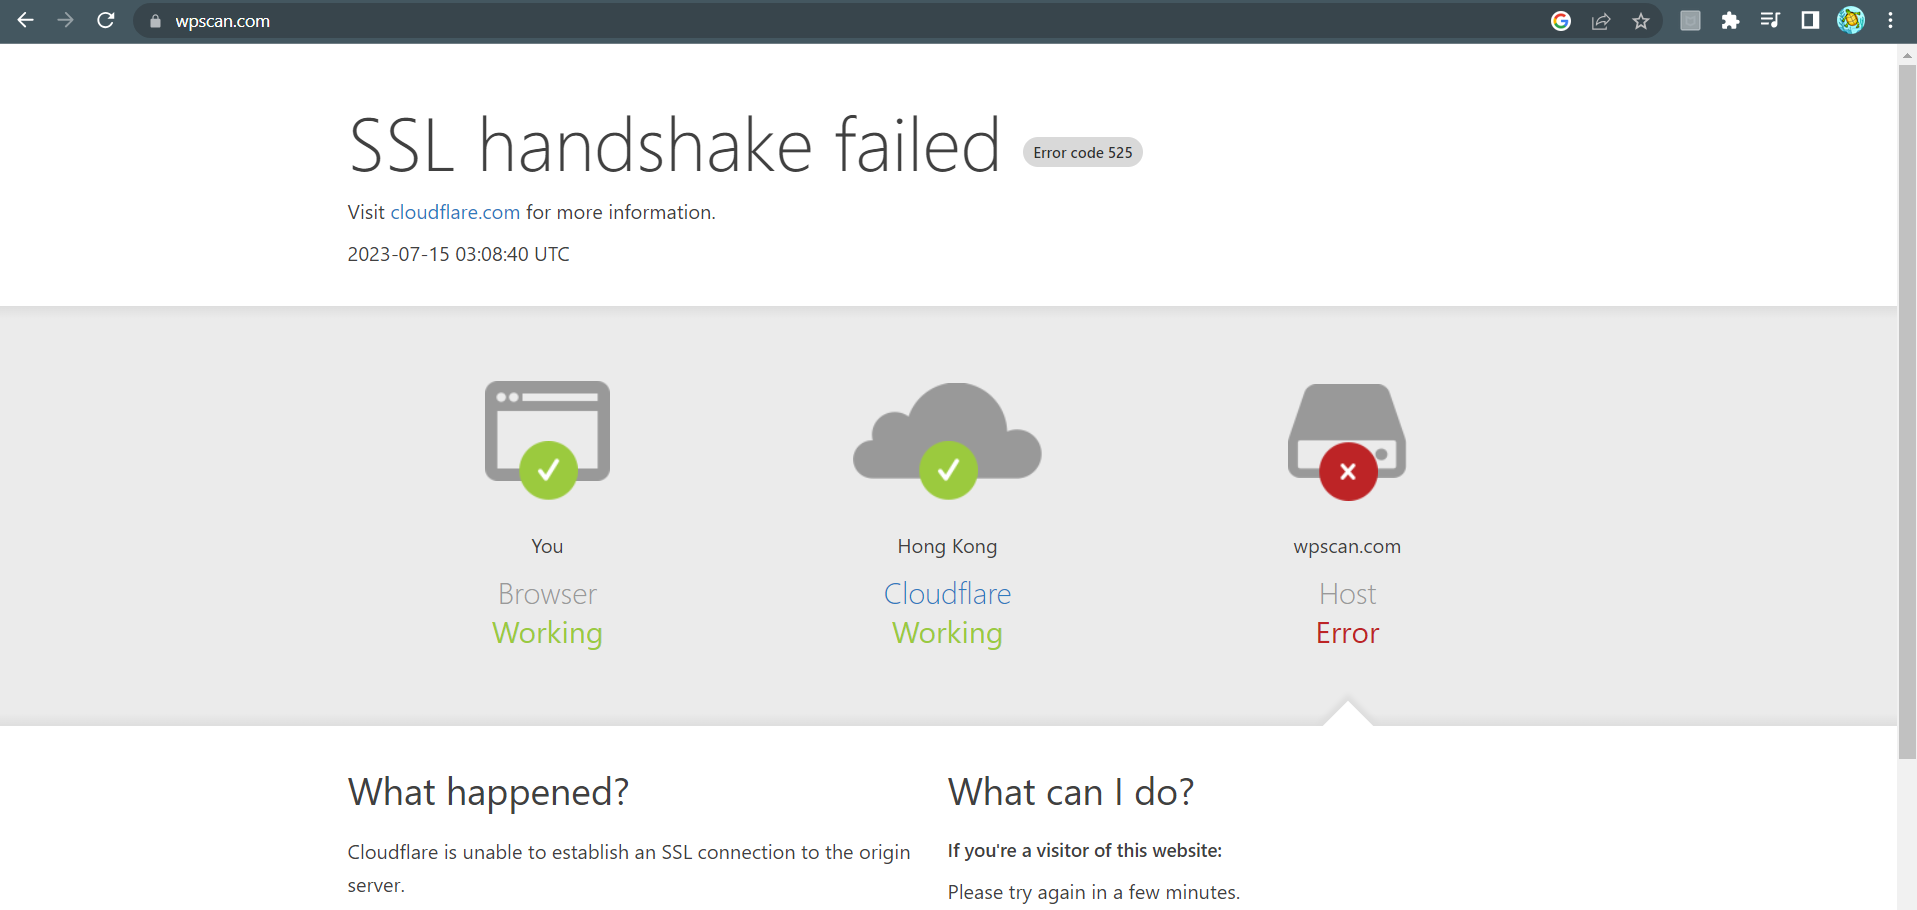

This is likely because you are using Cloudflare as your Domain Provider. You'll need to set Proxy status to "DNS only" (as opposed to "Proxied").